VitePress 部署到 Github Pages
下载安装 Node.js
下载安装 Node.js 。
个人小插曲:在 Windows 注册表更改 Node.js 的安装路径
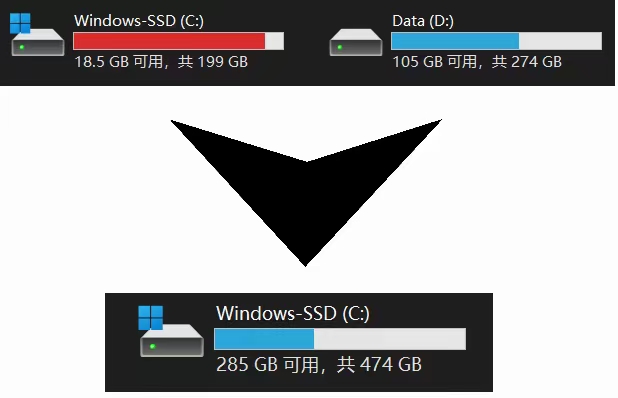
之前我为了扩展 C 盘的空间,需要清空 D 盘。 
当时蠢蠢地直接把 Node.js 文件夹剪切到了 E 盘,于是理所当然地运行不了,也卸载不了,提示 Invalid D: drive。
参考 change node.js installation directory - Stack Overflow,在注册表 HKEY_LOCAL_MACHINE\SOFTWARE\Node.js 下将 Node.js 的安装路径从 D:\Program Files\nodejs 改为 E:\Program Files\nodejs,才卸载重装成功。
Windows 注册表:Win + R → regedit 。
安装 VitePress,配置 .gitignore 文件
在本地新建一个文件夹,用来存放 VitePress 文件,在这个文件夹内运行 CMD,执行以下命令:
TIP:CMD 打开指定路径的方法
方法1:点击文件浏览器的地址栏,在当前文件目录地址前加个 cmd,回车即可
方法2:Win + R → 输入 cmd,回车 → 输入 cd /d 目录地址 执行
TIP:我建了两个 VitePress 站点
我建了两个 VitePress 站点文件夹,一个是正式的 ;另一个是笔记 ,用来预览和测试用。
我的文件夹结构:
vitepress
├─ vitepress-jan-draft
└─ vitepress-jan-notenpm add -D vitepressnpx vitepress init将 .vitepress/config.js 扩展名更改为 .mjs
npm run docs:dev然后按照 官方手册 配置 config.mts 文件、写 markdown 文件就行了,推荐用 VS Code 写。
到这一步,在 VitePress 站点文件夹内应该是有 4 个项目的:
node_modules自己起的站点文件夹名称(按照 官方步骤 来,会是docs)package.jsonpackage-lock.json
其中的 node_modules 在部署 GitHub Pages 时不需要 push 到 GitHub 仓库,所以要配置一下 .gitignore 文件。
参考:git忽略某个目录或文件不上传_git忽略指定文件_sxjlinux的博客-CSDN博客
在站点文件夹下创建名为 .gitignore 的文件,用编辑器打开(notepad、notepad++、VS Code 都可以),里面写上 node_modules 。
创建 deploy.yml GitHub 工作流文件
在本地的 VitePress 站点文件夹 .github/workflows 下建立 名为 deploy.yml 的文件,内容如下:
deploy.yml 文件的内容
# Sample workflow for building and deploying a VitePress site to GitHub Pages
#
name: Deploy VitePress site to Pages

on:
  # Runs on pushes targeting the `main` branch. Change this to `master` if you're
  # using the `master` branch as the default branch.
  push:
    branches: [main]

  # Allows you to run this workflow manually from the Actions tab
  workflow_dispatch:

# Sets permissions of the GITHUB_TOKEN to allow deployment to GitHub Pages
permissions:
  contents: read
  pages: write
  id-token: write

# Allow only one concurrent deployment, skipping runs queued between the run in-progress and latest queued.
# However, do NOT cancel in-progress runs as we want to allow these production deployments to complete.
concurrency:
  group: pages
  cancel-in-progress: false

jobs:
  # Build job
  build:
    runs-on: ubuntu-latest
    steps:
      - name: Checkout
        uses: actions/checkout@v4
        with:
          fetch-depth: 0 # Not needed if lastUpdated is not enabled
      # - uses: pnpm/action-setup@v2 # Uncomment this if you're using pnpm
      # - uses: oven-sh/setup-bun@v1 # Uncomment this if you're using Bun
      - name: Setup Node
        uses: actions/setup-node@v4
        with:
          node-version: 20
          cache: npm # or pnpm / yarn
      - name: Setup Pages
        uses: actions/configure-pages@v4
      - name: Install dependencies
        run: npm ci # or pnpm install / yarn install / bun install
      - name: Build with VitePress
        run: |
          npm run docs:build # or pnpm docs:build / yarn docs:build / bun run docs:build
          touch docs/.vitepress/dist/.nojekyll
      - name: Upload artifact
        uses: actions/upload-pages-artifact@v3
        with:
          path: docs/.vitepress/dist

  # Deployment job
  deploy:
    environment:
      name: github-pages
      url: ${{ steps.deployment.outputs.page_url }}
    needs: build
    runs-on: ubuntu-latest
    name: Deploy
    steps:
      - name: Deploy to GitHub Pages
        id: deployment
        uses: actions/deploy-pages@v4
以下我是以 tangjan.github.io/ 根路径作为站点部署地址的,所以不需要修改 VitePress 的 base。
若需修改部署地址,参考 Deploy Your VitePress Site | VitePress 。
上传到 GitHub 仓库
在 GitHub 创建一个名为 <username>.github.io 的仓库,然后在本地的 VitePress 站点文件夹下:
git init关于 git 的初始化请另找教程,本文对此略过
如:关于Git这一篇就够了_17岁boy想当攻城狮的博客-CSDN博客
git remote add origin git@github.com:<username>/<username>.github.io.git
# <username> 改为自己的 GitHub 用户名git add .git commit -m "initial commit" .双引号内的内容是 提交信息,可任意
git push origin main部署 GitHub Pages,设定用户域名
VitePress 站点相关文件上传到 GitHub 仓库后,就会自动执行 Deploy VitePress site to Pages 的 Github Action。过一会就会自动部署完成,访问 <username>.github.io 就能看见 VitePress 站点了。
在 <username>.github.io 仓库的 Settings → Pages → Custom domain 可以设定自定义域名。
在域名购买的服务商处添加一条 CNAME 类型的记录,指向 <username.github.io> 即可。