Debian 10 部署 Typecho
TIP
本文所述站点已关停,和 BLOG 合并了。
起因
很喜欢 Typecho 的 Story 主题,想基于它建一个网站。
第一时间先搜了下「Typecho 怎么部署到 Github Pages」,然后发现 Typecho 是动态的 PHP 框架,而 Github Pages 只能托管静态网站,所以 Typecho 没法部署到 Github Pages,是需要云计算支撑的。
GitHub 只能托管静态网站
GitHub Pages is a static site hosting service that takes HTML, CSS, and JavaScript files straight from a repository on GitHub, optionally runs the files through a build process, and publishes a website.
初步了解过后,摆在我面前的选项有两个:
用 Vercel 部署的好处有:
- 很省事儿,基本没什么运维问题
- 基本免费
- 使用简单,不用对着黑漆漆的服务器 CLI 敲指令
- 我还算有点使用经验。之前咱在给博客添加评论功能的时候,有用到 Waline + LeanCloud + Vercel
但是——
考虑了一下,我还是选择先用 VPS 用着。
选择 VPS 的考量
运维也不麻烦
之前有在腾讯云轻量应用服务器上用过一段时间的 WordPress,我的感受是:除了建站时需要折腾一下,日常使用基本不需要运维。
我当时是安装的 宝塔,然后用宝塔一键部署 LNMP 环境,安装配置 WordPress 就行了。宝塔本身也有一键安装 WordPress。
日常就用 WordPress 的 Dashboard 管理网站就行,很方便。
所以据我推测,相较于 WordPress 更加轻量的 Typecho,运维成本也不大,建完站基本就不用管了。遇到问题估计也都是成熟的问题,Google 一下就行,甚至 ChatGPT 都能帮忙解决。
所以运维成本不用太在意。
经济成本和数据迁移问题
根据我对 盐之 的构思定位,这个网站可能是要运营一辈子的 (•̀ᴗ• ),所以要从长远的角度考虑经济问题和数据迁移问题。
经济成本
事实上,我目前有两台闲置的服务器,一台是 RackNerd 的,25 年 3 月才到期;还有一台是 腾讯云 的,不过今年12月就要到期了。
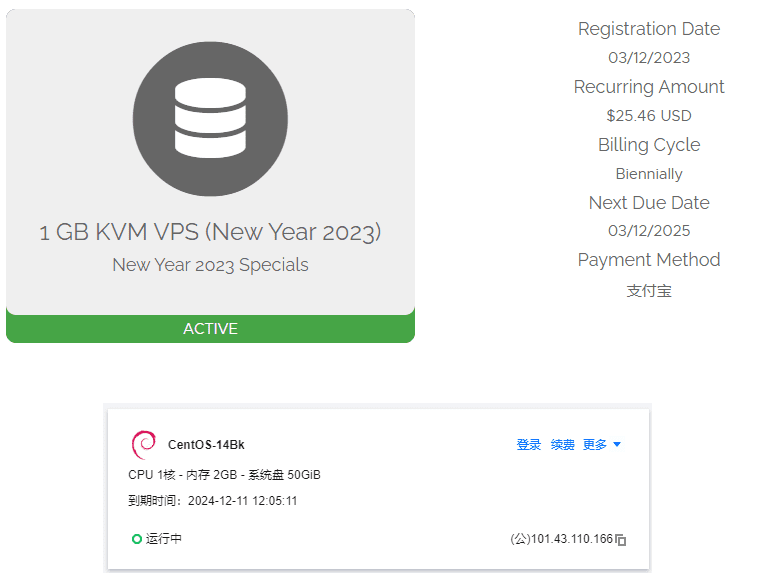
所以我不需要买新的服务器,用它们就行。
此外,放着也是放着,不如趁机会利用起来,学点运维的知识。
先用 RackNerd 用到明年 3 月份,到时到期再说。
到期之后咋办呢
那到期之后咋办呢?选择有很多,例如:
- 续费原来的 VPS
- 找新的便宜的 VPS,迁移过去
- 迁移到 Vercel
便宜的 VPS 一个月 10 元以内就能买到,所以经济成本也不足为虑。
数据迁移
至于迁移,初步了解 Typecho 本身有备份功能,迁移时不算太麻烦。
所以迁移问题也是小事儿。
综上,我选择用 VPS 部署 Typecho,下面说说详细过程吧。
Debian 10 部署 Typecho 的过程
以下过程是在 Debian 10 系统下进行,用的 SSH 客户端是:
- SSH:Xshell for home 或 PuTTY(在家用 Xshell,在公司用 PuTTY)
- SFTP:Bitvise
为了方便展示在目录中,后续标题都用二级标题。
更新软件包和系统
好久没用这个服务器了,先更新一下软件包列表。
apt update再用 full-upgrade 全面更新一下系统。
apt full-upgradePHP 8.3
先下载并添加 GPG key,以保证下载软件包的真实性:
apt -y install lsb-release apt-transport-https ca-certificateswget -O /etc/apt/trusted.gpg.d/php.gpg https://packages.sury.org/php/apt.gpg然后把 SURY PHP 源放到下载源列表中:
echo "deb https://packages.sury.org/php/ $(lsb_release -sc) main" | tee /etc/apt/sources.list.d/php.list安装最新版 php ,及 Typecho 所需的 PHP 相关扩展包:
apt -y install php8.3 php-mbstring php-sqlite3 php-fpm然后修改 php-fpm 的配置文件 www.conf,配置 PHP 端口
vim /etc/php/8.3/fpm/pool.d/www.conf在 www.conf 文件中,把 listen = /run/php/php8.3-fpm.sock 注释掉,添加一行 listen = 127.0.0.1:9000
; listen = /run/php/php8.3-fpm.sock
listen = 127.0.0.1:9000
重启 php-fpm
service php8.3-fpm reloadMariaDB
关于 MariaDB 的说明
MariaDB 是 Debian 10 的默认数据库。
虽然在 Typecho文档 中说到:
Mysql, PostgreSQL, SQLite 任意一种数据库支持,并在PHP中安装了相关扩展
看上去不包括 MariaDB。但其实 MariaDB 是 MySQL 的一个分支,Typecho 是支持 MariaDB 的。
先安装 MariaDB 服务器端:
apt -y install mariadb-server然后执行 MySQL 默认脚本:
mysql_secure_installationFATAL ERROR: Could not find /usr/bin/mysql
这一步我遇到了报错:
$ mysql_secure_installation

FATAL ERROR: Could not find /usr/bin/mysql

If you compiled from source, you need to run 'make install' to
copy the software into the correct location ready for operation.

If you are using a binary release, you must either be at the top
level of the extracted archive, or pass the --basedir option
pointing to that location.
卸载重装,再执行 mysql_secure_installation 就能执行了,不知道为啥。
systemctl stop mariadbapt-get remove --purge mariadb-server mariadb-client mariadb-commonapt -y install mariadb-server按照提示设置就好。
mysql_secure_installation
$ mysql_secure_installation

NOTE: RUNNING ALL PARTS OF THIS SCRIPT IS RECOMMENDED FOR ALL MariaDB
SERVERS IN PRODUCTION USE!  PLEASE READ EACH STEP CAREFULLY!

In order to log into MariaDB to secure it, we'll need the current
password for the root user.  If you've just installed MariaDB, and
you haven't set the root password yet, the password will be blank,
so you should just press enter here.

Enter current password for root (enter for none):
OK, successfully used password, moving on...

Setting the root password ensures that nobody can log into the MariaDB
root user without the proper authorisation.

You already have a root password set, so you can safely answer 'n'.

Change the root password? [Y/n] y
New password:
Re-enter new password:
Password updated successfully!
Reloading privilege tables..
... Success!

By default, a MariaDB installation has an anonymous user, allowing anyone
to log into MariaDB without having to have a user account created for
them.  This is intended only for testing, and to make the installation
go a bit smoother.  You should remove them before moving into a
production environment.

Remove anonymous users? [Y/n] n
... skipping.

Normally, root should only be allowed to connect from 'localhost'.  This
ensures that someone cannot guess at the root password from the network.

Disallow root login remotely? [Y/n] y
... Success!

By default, MariaDB comes with a database named 'test' that anyone can
access.  This is also intended only for testing, and should be removed
before moving into a production environment.

Remove test database and access to it? [Y/n] y

- Dropping test database...
... Success!
- Removing privileges on test database...
... Success!

Reloading the privilege tables will ensure that all changes made so far
will take effect immediately.

Reload privilege tables now? [Y/n] y
... Success!

Cleaning up...

All done!  If you've completed all of the above steps, your MariaDB
installation should now be secure.

Thanks for using MariaDB!
然后在 MariaDB 中创建 Typecho 专属数据库:
mysql -u root -pMariaDB [(none)]> GRANT ALL PRIVILEGES ON . TO 'root'@'localhost' IDENTIFIED BY '你的数据库root密码' WITH GRANT OPTION;
Query OK, 0 rows affected (0.001 sec)MariaDB [(none)]> FLUSH PRIVILEGES;
Query OK, 0 rows affected (0.002 sec)MariaDB [(none)]> quit
ByeMariaDB [(none)]> CCREATE DATABASE typecho DEFAULT CHARACTER SET utf8mb4 COLLATE utf8mb4_unicode_ci;
Query OK, 1 row affected (0.001 sec)MariaDB [(none)]> quit
Bye最后,重启 MariaDB:
systemctl restart mariadb.service建立站点文件夹
这里先建立一个站点文件夹,因为后面 Nginx 配置就要用到了。
我给网站取的域名是 story.tangjiayan.cn,所以在 /www/wwwroot 下建立一个名为 story.tangjiayan.cn 的文件夹。
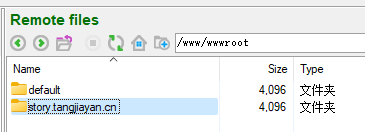
站点文件夹名称不一定非得与网站域名相同
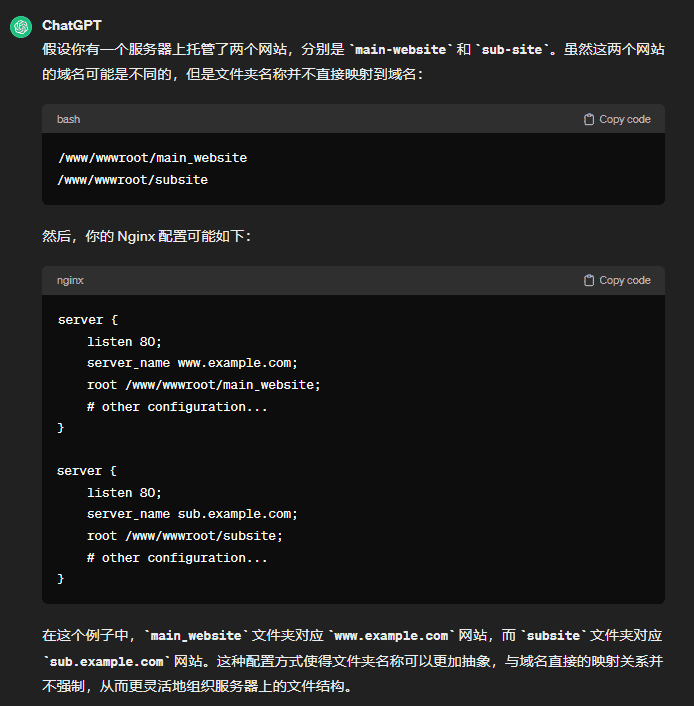
站点文件夹名称不一定非得与网站域名相同,不信你问 ChatGPT ╰(°▽°)╯

Nginx
先安装并启动 Nginx,设置自启:
apt -y install nginxsystemctl start nginxsystemctl enable nginxsystemctl status nginx允许 Nginx 通过防火墙:
ufw allow 'Nginx HTTP’然后是修改 Nginx 的配置文件
不知道 Nginx 的配置文件在哪?
Nginx 的配置文件一般默认都是在 /etc/nginx 目录下。
真没找到,可以用 nginx -t 找到:
$ nginx -t

nginx: the configuration file /etc/nginx/nginx.conf syntax is ok
nginx: configuration file /etc/nginx/nginx.conf test is successful
用 Bitvise 建立 SFTP 连接,用 VS Code 打开编辑 /etc/nginx/sites-available/default 。
/etc/nginx/sites-available/default 文件关键内容
Nginx 的内容我还是没完全搞懂,我是一边参考其他博客的 Nginx 配置文章,一边研读 Nginx 文档 配置的。
server {
    listen 80 default_server;
    listen [::]:80 default_server;
    root /www/wwwroot/story.tangjiayan.cn;
    index index.php index.html index.htm index.nginx-debian.html;
    server_name _;

    location / {
        if (-f $request_filename/index.html){
            rewrite (.*) $1/index.html break;
        }
        if (-f $request_filename/index.php){
            rewrite (.*) $1/index.php;
        }
        if (!-f $request_filename){
            rewrite (.*) /index.php;
        }

        try_files $uri $uri/ =404;
    }

    location ~ \.php$ {
        include snippets/fastcgi-php.conf;
        fastcgi_pass 127.0.0.1:9000;
    }

    location ~ /\.ht {
        deny all;
    }
}
TIP
注意选对打开方式,不然会出现 Bitvise Access Denied 问题。
Typecho 相关配置
下载 Typecho,上传到站点文件夹
在 这里 下载最新版本的 Typecho,解压后用 Bitvise 将其内容都上传到 /www/wwwroot/blog.tangjiayan.cn 路径下。
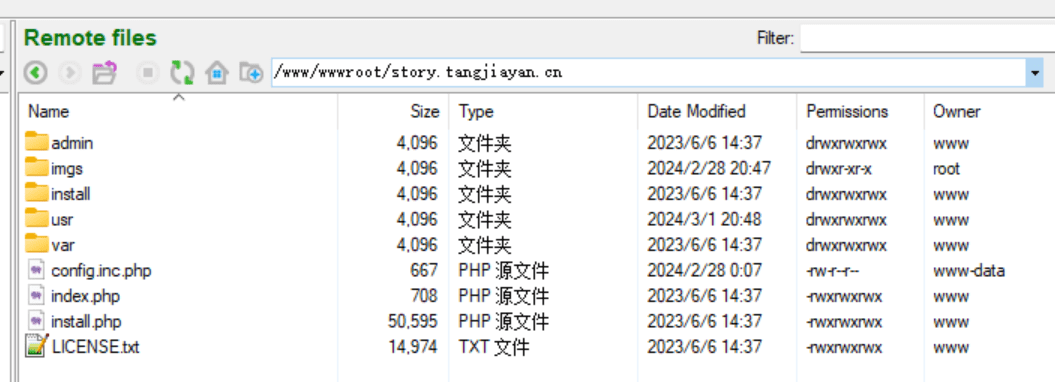
打开浏览器,进入网站后台进行配置
打开浏览器,输入服务器 IP 地址,就能进入 Typecho 的引导界面了。
按照提示一步步来就好。过程中我遇到了几个问题:
上传目录无法写入

解决:
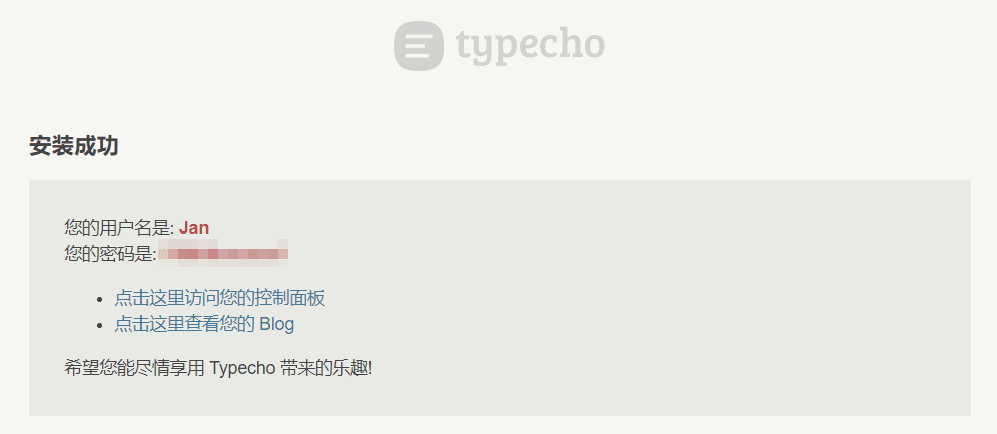
chmod -R 777 /www/wwwroot/story.tangjiayan.cn/usr/uploads最后安装好了。
更换为 Story 主题
在 Releases 下载最新版本的 Story 主题源文件。
对于 Debian 10,zip 或者 tar.gz 格式的都行,我选择下载 zip 格式的。
解压后把文件夹改名为 Story,通过 Bitvise 把整个文件夹上传到 /www/wwwroot/www.tangjiayan.cn/usr/themes 路径下。

然后在 Typecho 后台启用 Story,根据 README 自定义主题就好。
然后是添加 favicon、添加归档页面等,随便搜一下就有教程。
DNS 和 SSL
DNS:在域名服务商配置 CNAME 指向服务器 IP 就好。
SSL:我没配置 SSL 证书,因为我的域名托管在 CloudFlare 上,它会提供 SSL。
参考
- 记一次 Typecho 博客迁移的经历 - Nativus' Space
- 哥们求助!!如何部署typecho到github上?? · Issue #1044 · typecho/typecho
- 个人博客如何选择 Typecho 和 Hexo ? - 运维学习笔记
- Vercel部署Typecho动态博客 | Lete乐特 's Blog
- nextjs 大家会选择 vercel 平台还是自己部署呢 - V2EX
- 【说站】Typecho 1.2.0 来了,在安装 typecho 的时候怎么选择数据库适配器呢-腾讯云开发者社区-腾讯云
- Typecho 环境配置和博客搭建 | Dongxing's Wiki
- Typecho安装与配置 - Pong-Blog
- CrownCloud Wiki - How To Install PHP 7.4 In Debian 10
- 【网络】个人博客网站搭建之Typecho(命令版) - 李柱明 - 博客园
- Typecho安装指南(一定要记得常备份啊😭) - 禾奈
- Typecho添加Favicon - 夜溅樱的茶馆
